A Comprehensive Guide to Cleaning and Maintaining Your Cultured Marble Bathroom Vanity Top
Published on
February 1st, 2024
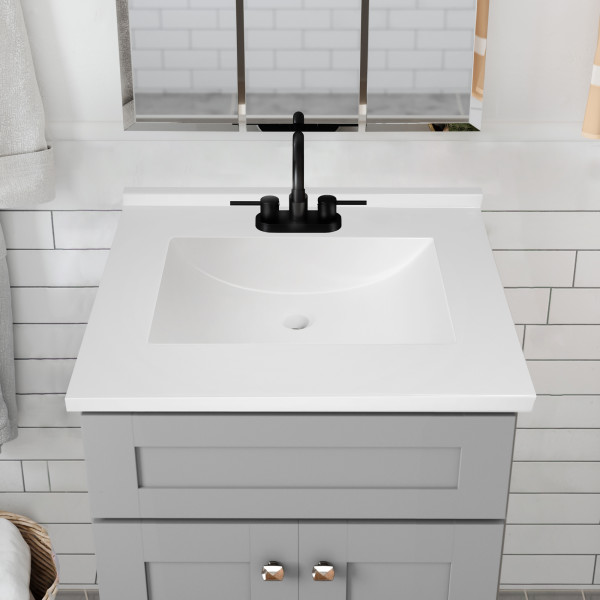
When cleaning cultured marble, it is essential to avoid using abrasive or acidic cleaners that can damage the surface. Harsh chemicals such as bleach, ammonia, or products containing vinegar should be avoided as they can cause discoloration, dulling, or even etching on the surface. Instead, we recommend using mild dish soap and warm water or specialized cleaners designed for cultured marble surfaces. Gentle cleaning with a soft cloth or non-abrasive sponge is typically sufficient for regular maintenance.
While cultured marble is relatively durable and resistant to stains, it is still important to clean up spills promptly to prevent potential staining or damage. Additionally, using coasters, mats, or trays under toiletries and avoiding abrasive scrubbing pads can help maintain the surface's luster and prevent scratches.
Overall, treating cultured marble with gentle care and using mild, non-abrasive cleaning agents will help preserve its appearance and longevity. Regular maintenance and proper cleaning practices can ensure that your cultured marble surfaces remain pristine and visually appealing for years to come.
Cleaning Your Cultured Marble Vanity Top
Before starting the cleaning process, collect the following items:
Mild dish soap
Warm water
Soft microfiber or cotton cloth
Non-abrasive cleaning sponge or cloth
Spray bottle
Distilled white vinegar (for stubborn stains, if needed)
Baking soda (for gentle abrasive cleaning, if needed)
Regular Cleaning Routine:
Maintain your vanity's cleanliness with regular, gentle cleaning:
a. Mix a few drops of mild dish soap with warm water in a spray bottle.
b. Spray the solution onto the vanity top.
c. Wipe it down with a soft, damp cloth or a non-abrasive sponge.
d. Rinse thoroughly with water and dry with a clean cloth to prevent water spots.
For tougher stains, like makeup or hair dye, you can use a mixture of white vinegar and water:
a. Create a 1:1 solution of distilled white vinegar and water.
b. Apply it to the stain and let it sit for a few minutes.
c. Gently scrub the stain with a non-abrasive sponge.
d. Rinse and wipe the area clean.
If you notice mineral deposits, you can use a paste made from baking soda and water:
a. Mix baking soda and water to form a paste.
b. Apply the paste to the mineral deposit.
c. Allow it to sit for a few minutes.
d. Gently scrub with a non-abrasive sponge.
e. Rinse and wipe the area clean.
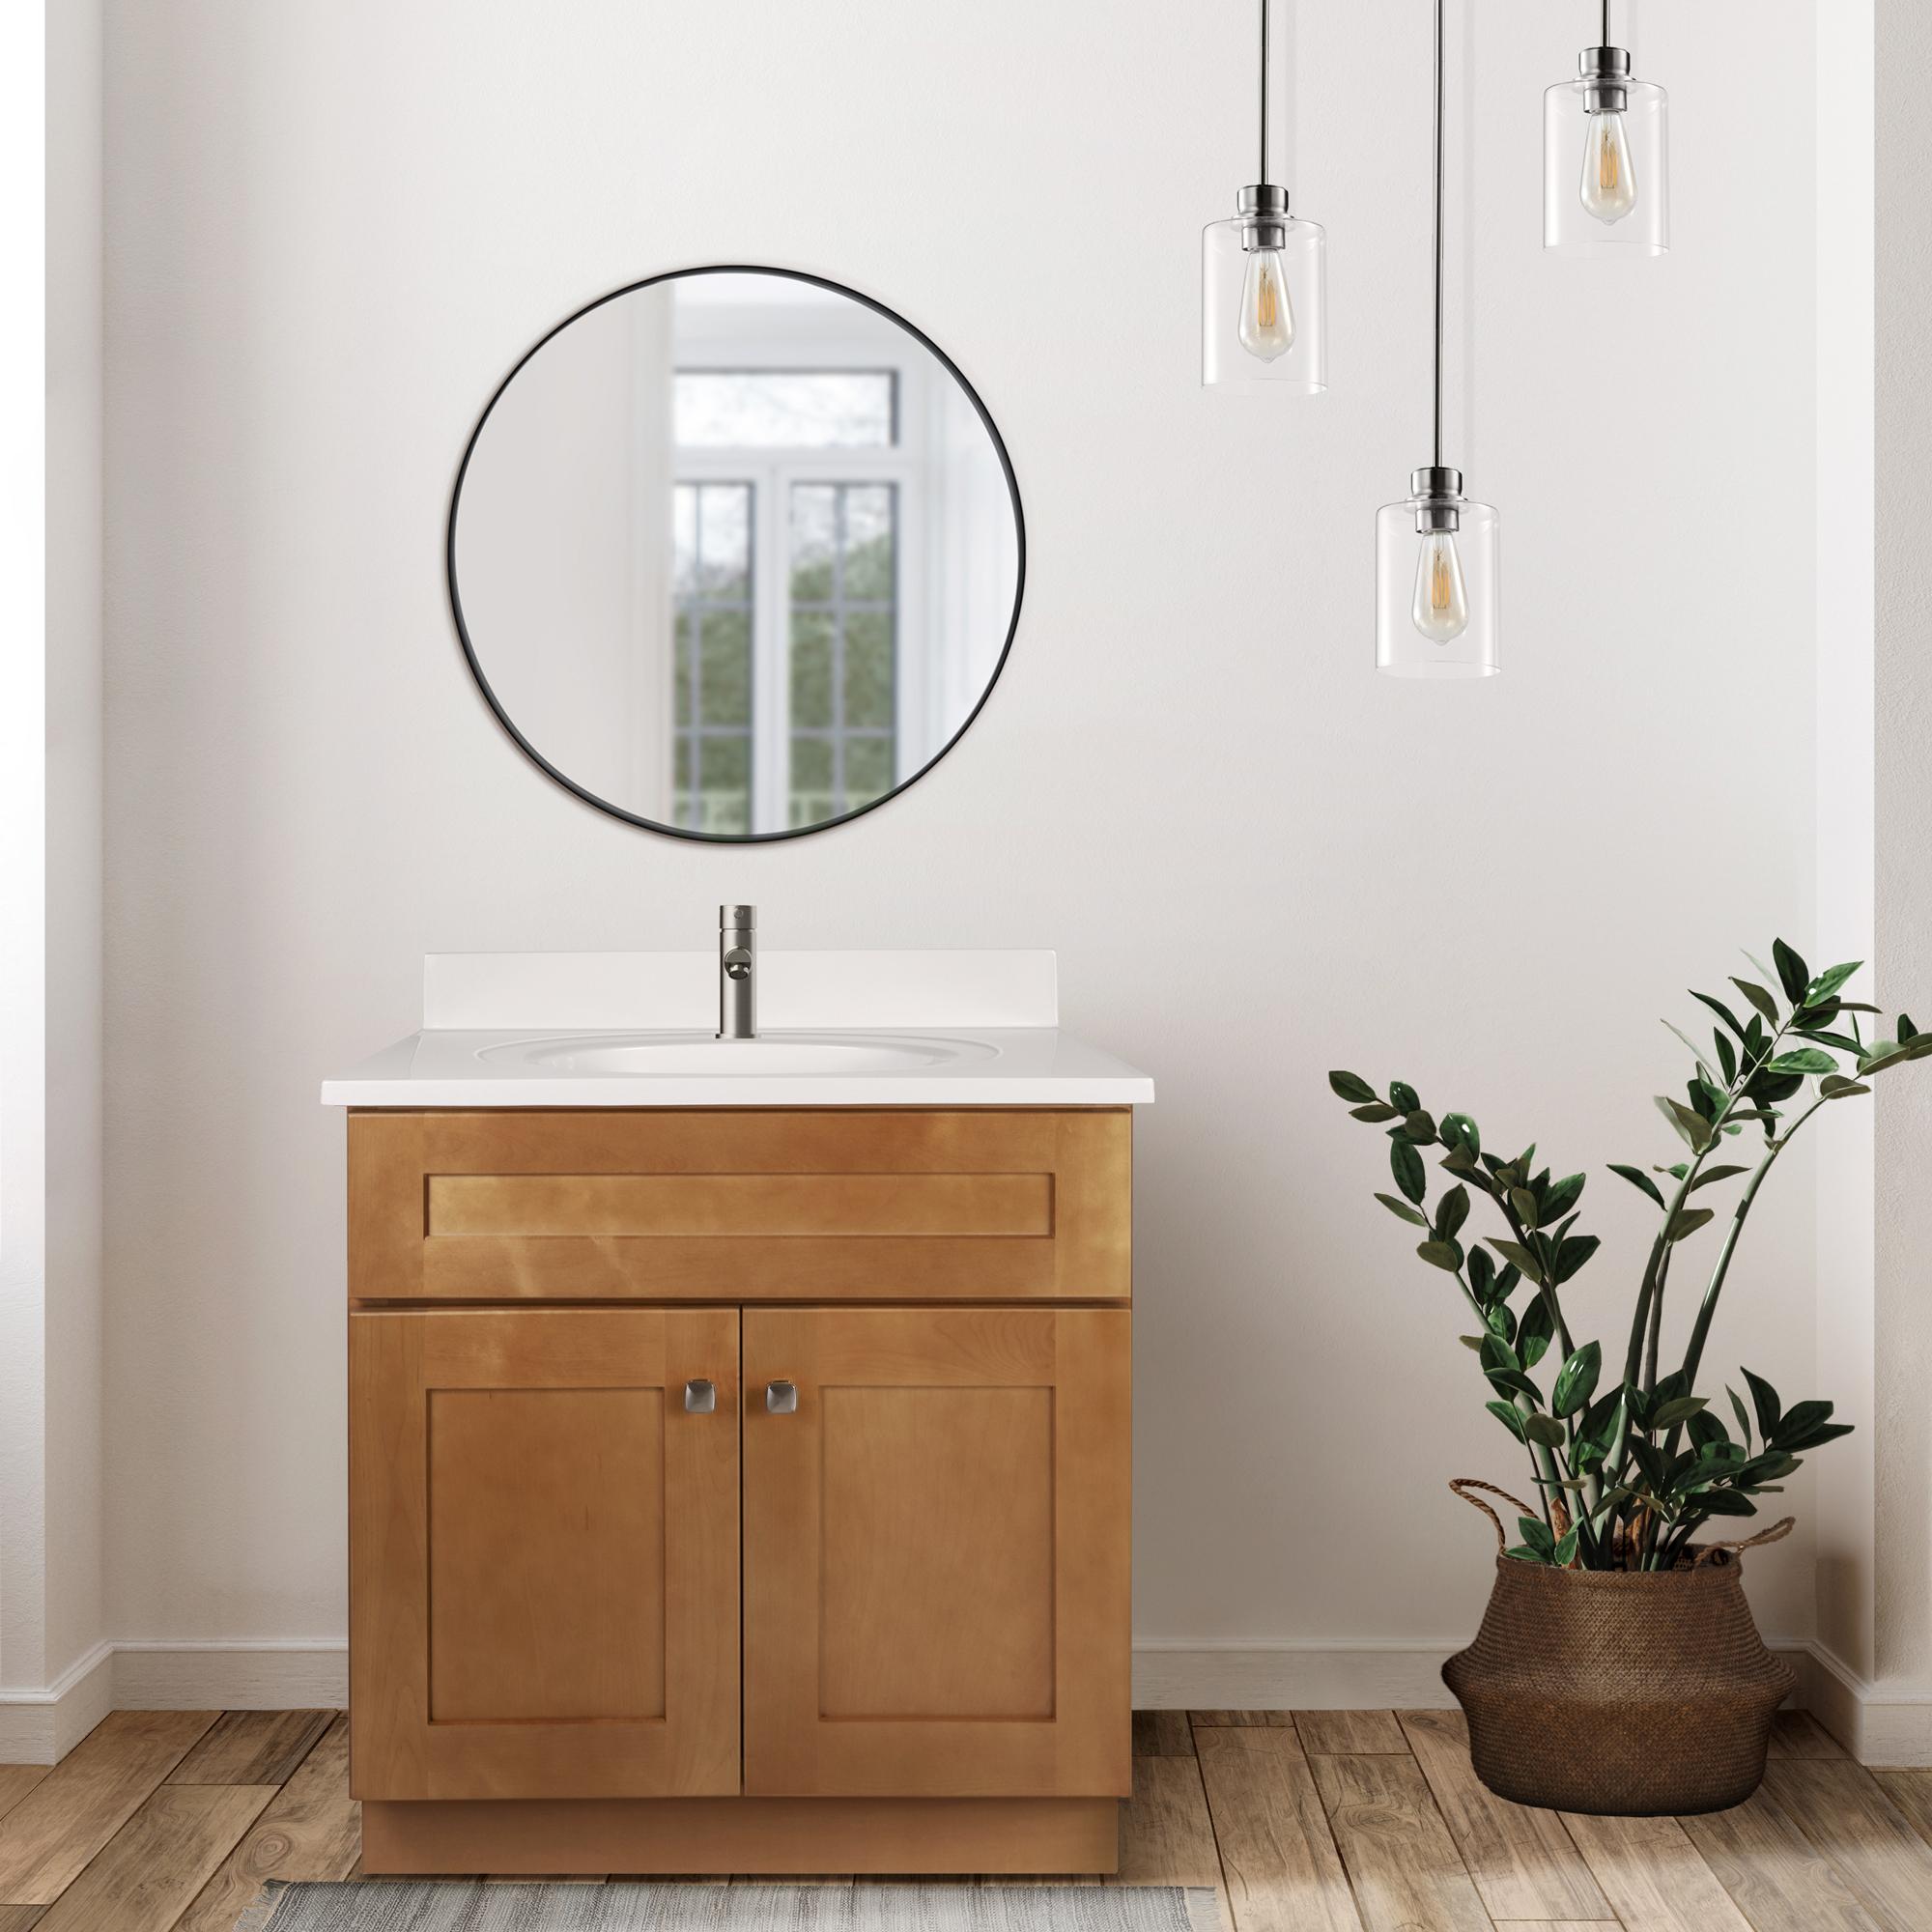
Maintaining Your Cultured Marble Vanity Top
Use Coasters or Trays
To prevent water rings, stains, and damage from toiletries, always use coasters, trays, or mats under items like soap dispensers, toothbrush holders, and makeup products.
Avoid Harsh Chemicals
Do not use abrasive or acidic cleaners, such as bleach, ammonia, or products containing vinegar. These can damage the surface and finish of your cultured marble vanity top.
Regularly Seal the Surface
Some cultured marble vanity tops may require periodic sealing to maintain their shine and protect against stains. Follow the manufacturer's guidelines for sealing your specific vanity top.
Blot Spills Quickly
If a spill occurs, blot it up immediately to prevent it from seeping into the surface.
Avoid Excessive Heat
Avoid placing hot items directly on the surface of your cultured marble. This includes items like hot curling irons, flat irons, or other heated styling tools, as the high temperatures can cause the material to discolor.
Caring for your cultured marble bathroom vanity top is a straightforward process when you follow the right cleaning and maintenance routine. Regular, gentle cleaning with mild soap and water, along with a few extra steps for stubborn stains, will help your vanity top maintain its beauty for years to come. By practicing these care guidelines, you can enjoy your elegant cultured marble vanity top in its pristine condition and keep your bathroom looking fresh and inviting.
Recent Resource Guides
How to Find the Right Stool Height for Your Dining Table, Counter, or Bar
Whether you're furnishing a new kitchen island, replacing bar stools, or updating your dining space, choosing the correct stool height is one of the most important decisions you'll make. A stool that's too tall or too short can be uncomfortable, even if it's the perfect style. Fortunately, finding the right fit only takes a few simple measurements.
The Value of Shopping from a U.S.-Based Company
When it comes to shopping on Amazon, many shoppers in your position are looking for a reliable and hassle-free experience. You want the convenience of quick, responsive customer service and peace of mind knowing that your purchases are ethically sourced and meet safety standards. At Design House, we take pride in ethically sourcing sustainable Brazilian pine wood for our vanities. Additionally, our lighting and plumbing products come with various safety certifications, ensuring they meet the highest industry standards. With so many overseas sellers flooding the marketplace, it's easy to feel uncertain about where your money is going and whether you're getting the service you deserve. This is where Design House stands apart, because we are a proudly Wisconsin-based, U.S.-based company committed to offering a better, more trustworthy choice. Having been around for over 150 years, we know the value of maintaining a long-standing tradition of quality and service.
Refresh Your Home Without a New Installation
Home updates can often feel overwhelming and expensive but refreshing your space doesn’t always require a complete overhaul. Sometimes, small changes can make a significant impact. In this post, we’ll explore four simple upgrades that can breathe new life into your home: updating your bathroom vanity lighting, swapping out the glass globe on your ceiling fan, upgrading your kitchen cabinets with soft-close drawer glides, and replacing the USB charging outlets in your furniture. All these replacement parts and more can be found in our Parts shop. Let’s dive in!
Boosting Your Vacation Rental’s Revenue with Easy Upgrades
In the competitive vacation rental market, creating a standout experience is essential for driving 5-star reviews and maximizing income. Whether you are working with Airbnb, Vrbo, or are listing on your own, Design House has options for you to distinguish your property from the competition. Here are some tips to make a big impact on your business.